Address
304 North Cardinal
St. Dorchester Center, MA 02124
Work Hours
Monday to Friday: 7AM - 7PM
Weekend: 10AM - 5PM
Address
304 North Cardinal
St. Dorchester Center, MA 02124
Work Hours
Monday to Friday: 7AM - 7PM
Weekend: 10AM - 5PM
Face lighting angles chart for fitting rooms: eight setups, their elevation and side angles, the vertical-to-horizontal ratio, and what to specify instead.

A fitting room has one job: let someone decide. Not admire, not be photographed — decide whether a garment goes home. And the light in that cubicle decides whether that judgement is worth anything, because a face lit from the wrong angle does not just look worse, it looks different.
What follows is the face lighting chart we hand to retail clients, and the arithmetic behind it. Eight setups, two of which a customer will actually read their own face by, and the numbers that separate them: the angle above or below the eye line, the peak intensity sitting in front of the mirror, and how much of the light actually reaches a vertical face.
If you already know your five portrait angles, our face lighting reference covers what each one is and who it suits. This page is the other half of the question: which ones work in a fitting room, and what happens to the numbers when you get it wrong.
Eight rows. The two columns that matter are the elevation — how far above or below the eye line the beam axis crosses the face — and the side angle, which swings the fixture around the subject at the camera.
| Setup | Elevation | Side | What it does to a face | Verdict |
|---|---|---|---|---|
| Butterfly | +30° | 0° | Even, symmetric, almost no shadow. The standard beauty framework and a safe default. | Use |
| 45/45 key | +45° | 45° | Shaped cheek and jaw, socket keeps its depth. The workhorse for colour judgement. | Use |
| Rembrandt | +40° | 35° | Small triangle of light under the shadow eye. Most flattering on most faces. | Use |
| Loop | +35° | 20° | Loop of light beside the nose. Softer than 45/45, still shaped. | Use |
| Split | +5° | 60° | Half the face dark. Dramatic, and too harsh to judge a colour by. | Avoid |
| Top | +80° | 0° | Brow casts into the sockets. The passport-photo look. | Avoid |
| Under | −40° | 0° | Jowl and the underside of the brow lit. Reverses every natural cue on a face. | Avoid |
| Under + side | −30° | 45° | The horror-poster setup. Never in a fitting room, rarely anywhere. | Avoid |
The verdict column is not taste. It is what happens when you put those angles on a 9 ft ceiling over a subject whose eye line sits at 5.3 ft.
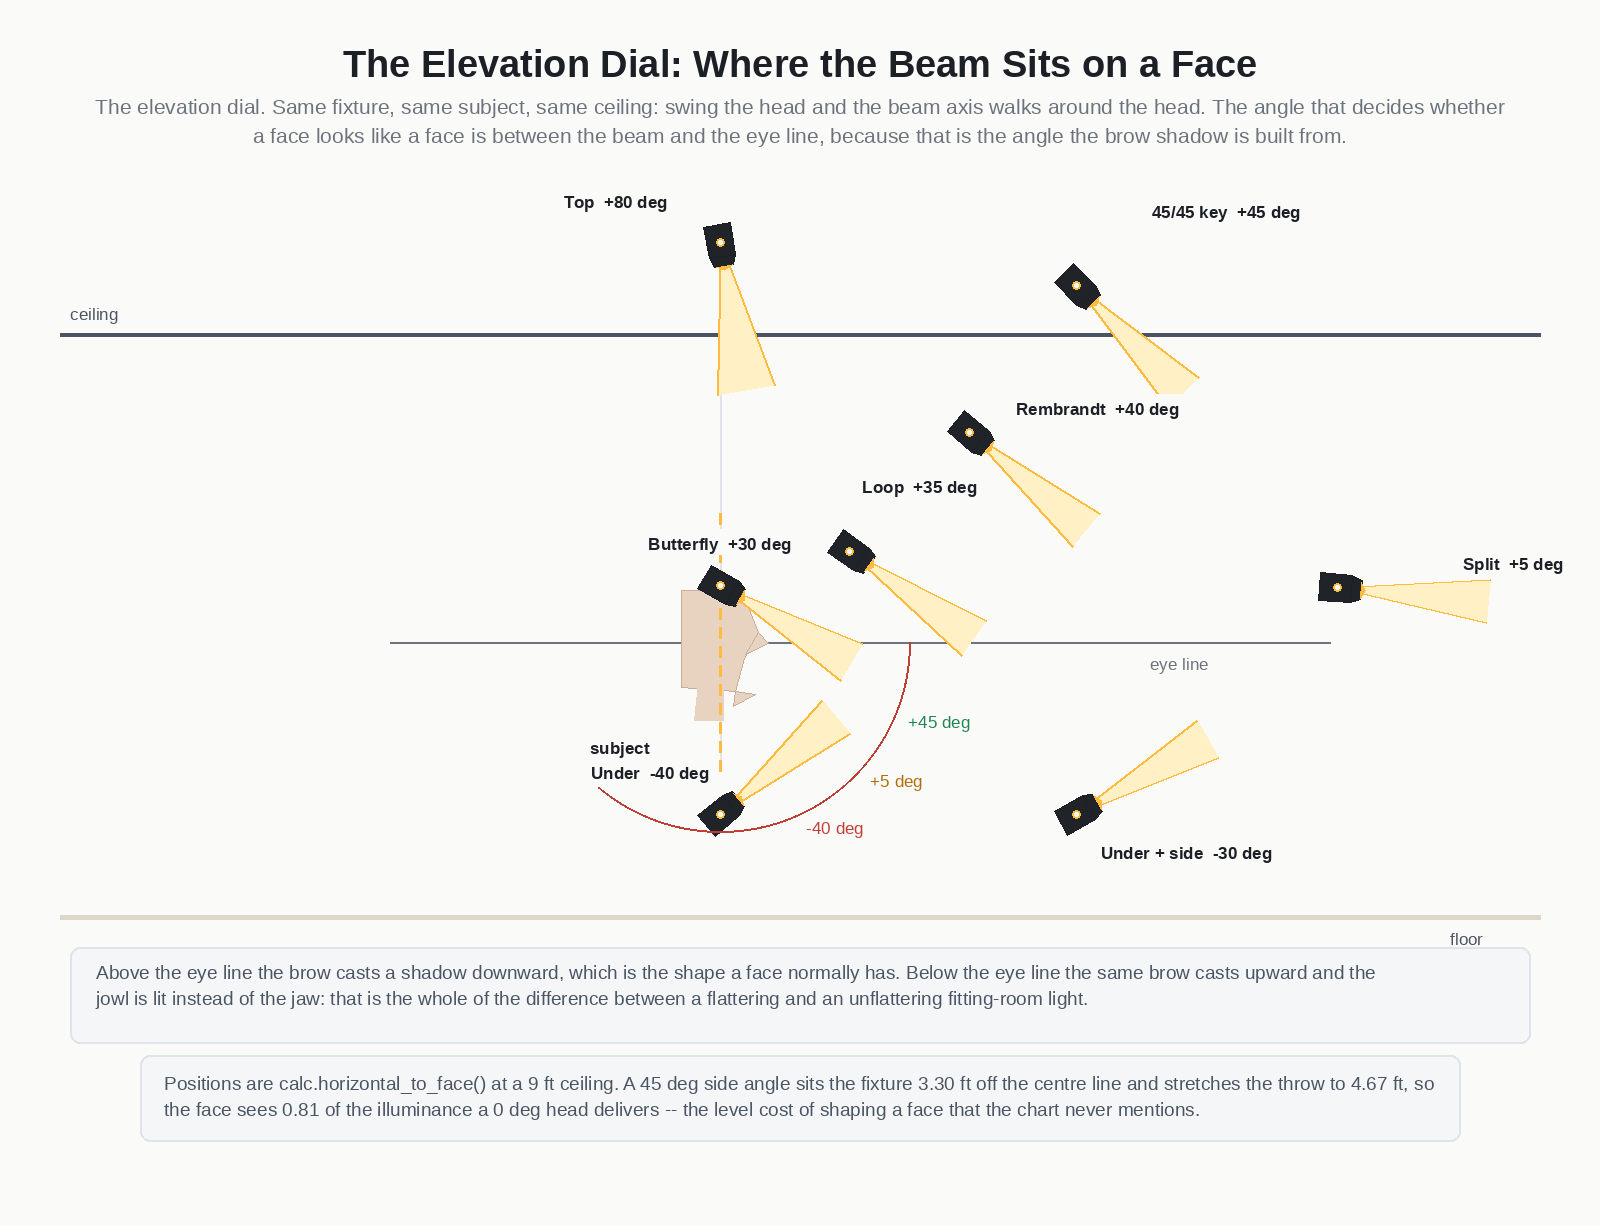
A face is not lit from above or below in the abstract. It is lit from above or below the eye line, because the eye line is where the brow sits, and the brow is the only hard edge on a face that casts a shadow you can read from across a room.
Put the beam above the eye line and the brow does what a brow does outdoors: it shades the socket and lets the cheek and jaw catch the light. Put it below and the same brow casts upward, the undereye and the jowl take the peak, and the jaw goes dark. Nothing about the fixture changed. The direction did.
That is the whole mechanism behind lighting from below face looking wrong, and it is why the fix is almost never more lumens.
The same arithmetic runs the other way for human face lighting in general: the eye line is a fixed reference, and every flattering setup is a way of staying on the right side of it.
Two setups, same lumens, opposite verdicts. On the left, a 24° head 1.5 ft below the chin and 2.5 ft out at the mirror. The throw is 2.92 ft and the beam axis crosses the face 31° below the eye line, so the peak of a 17,480 cd beam lands on the chin.
On the right, the same lumens through a 4 ft diffuser at nose height. Every point on the face sits within 21° of the panel normal, so the falloff across the full face height is under 10% and the light reads as direction rather than as a lamp.

Lighting design normally works in horizontal illuminance, measured on a desk. But a face is vertical, and the illuminance arriving on a vertical surface is not the horizontal figure. The ratio between them is what IES TM-30-20 Annex E uses to describe whether a room can be judged in at all: below 0.30 and you get the ID-photo look, where the sockets are shadowed and the face reads as a silhouette with eyes. Above 0.60 and a face is legible enough to judge colour against.
A ceiling-only layout in a fitting room lands well under 0.30, which is the technical description of a cubicle where every shopper looks tired.
A 2,400 lm head in a 24° beam is 17,480 cd at peak. Put that head on the mirror side of the shopper and it is not lighting the face — it is lighting the retinas, and then the mirror hands it back a second time.
The 24° beam is also narrower than most people assume. At a working throw of 3.3 ft it covers 1.4 ft, less than the height of the head it is meant to light. It has to be aimed, not pointed.
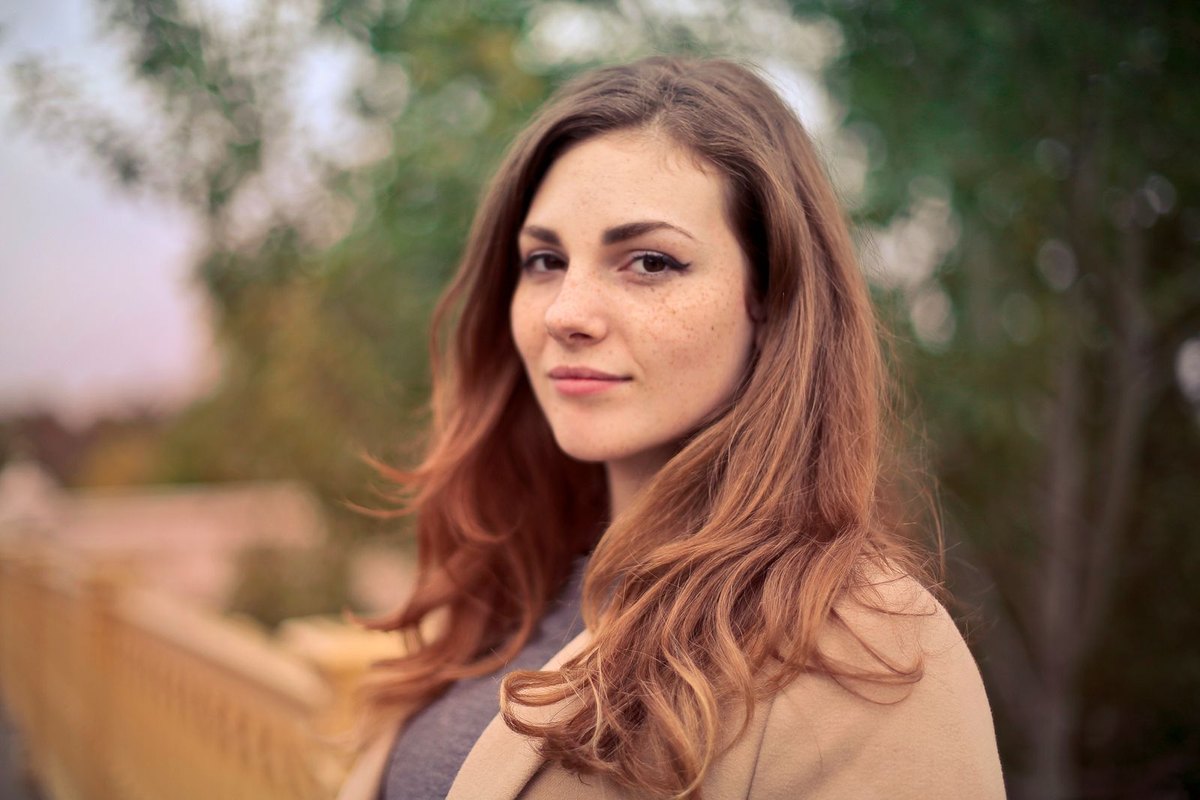
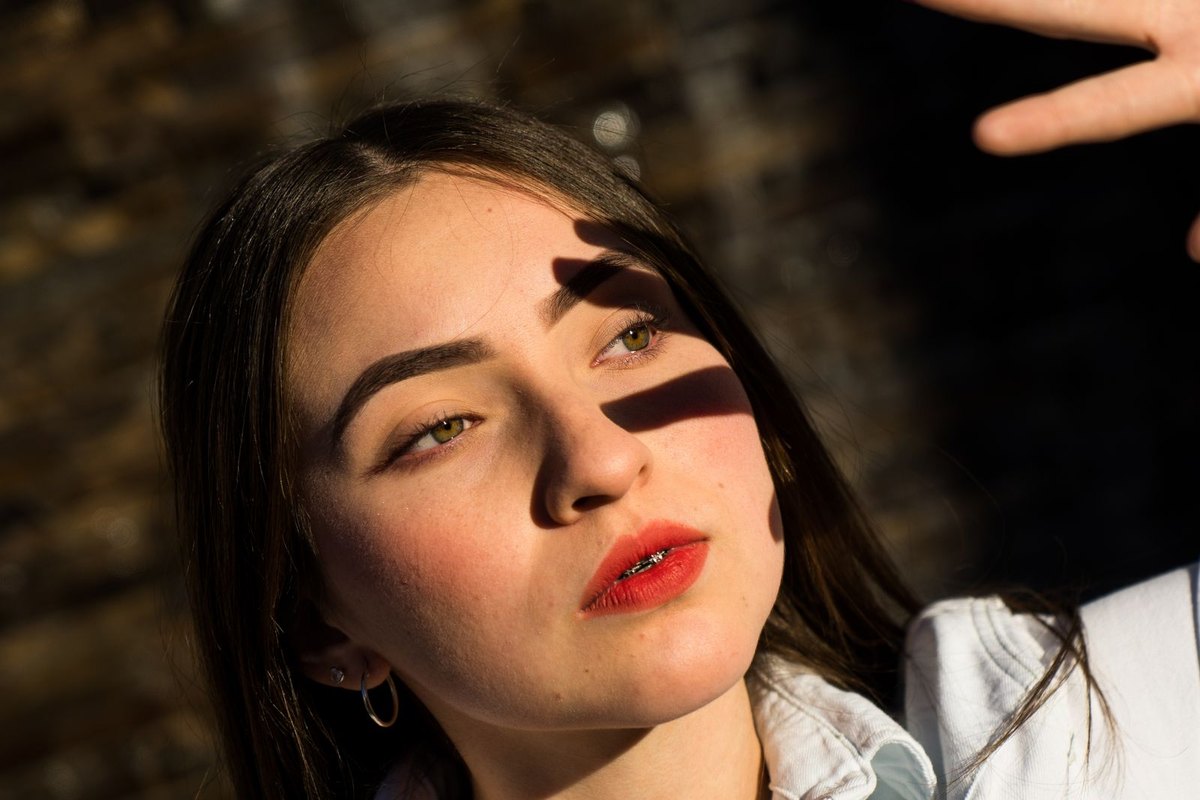
Four setups, one subject, one camera position. The two on the right are the two things fitting rooms actually get built with.

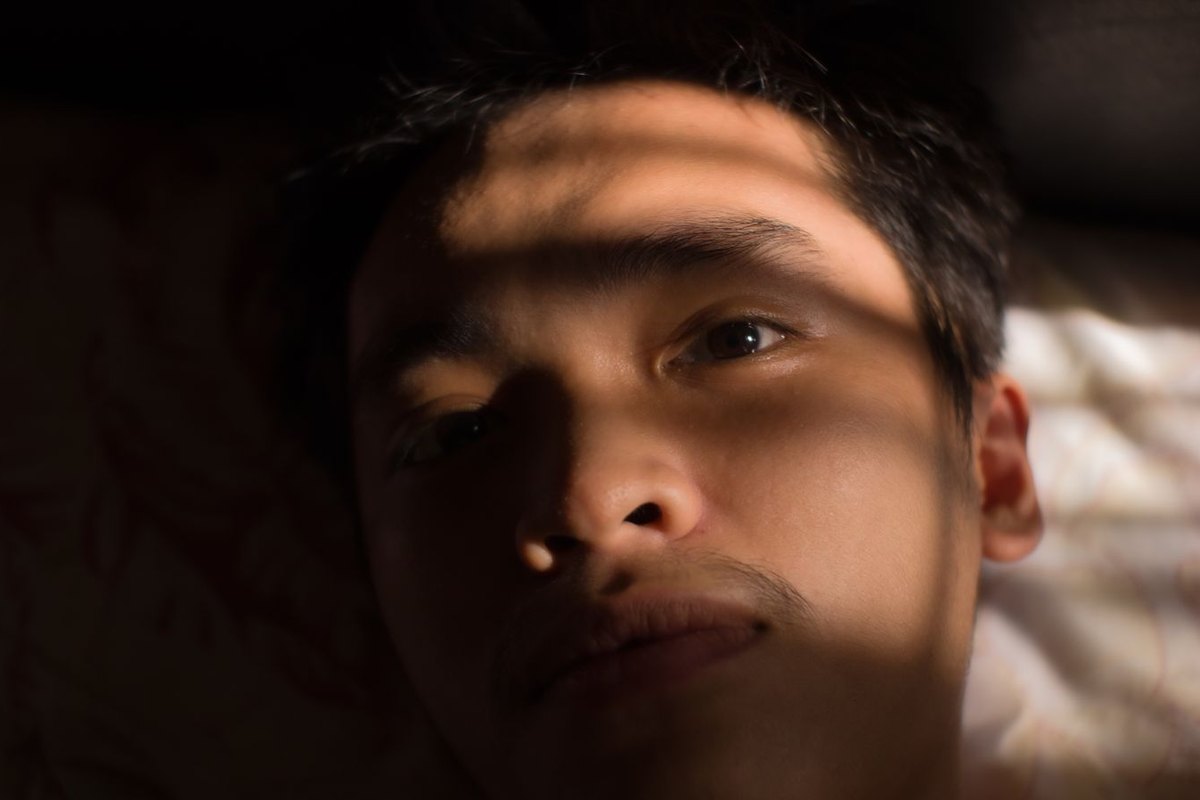
Compare that against the same face under a light straight above it.
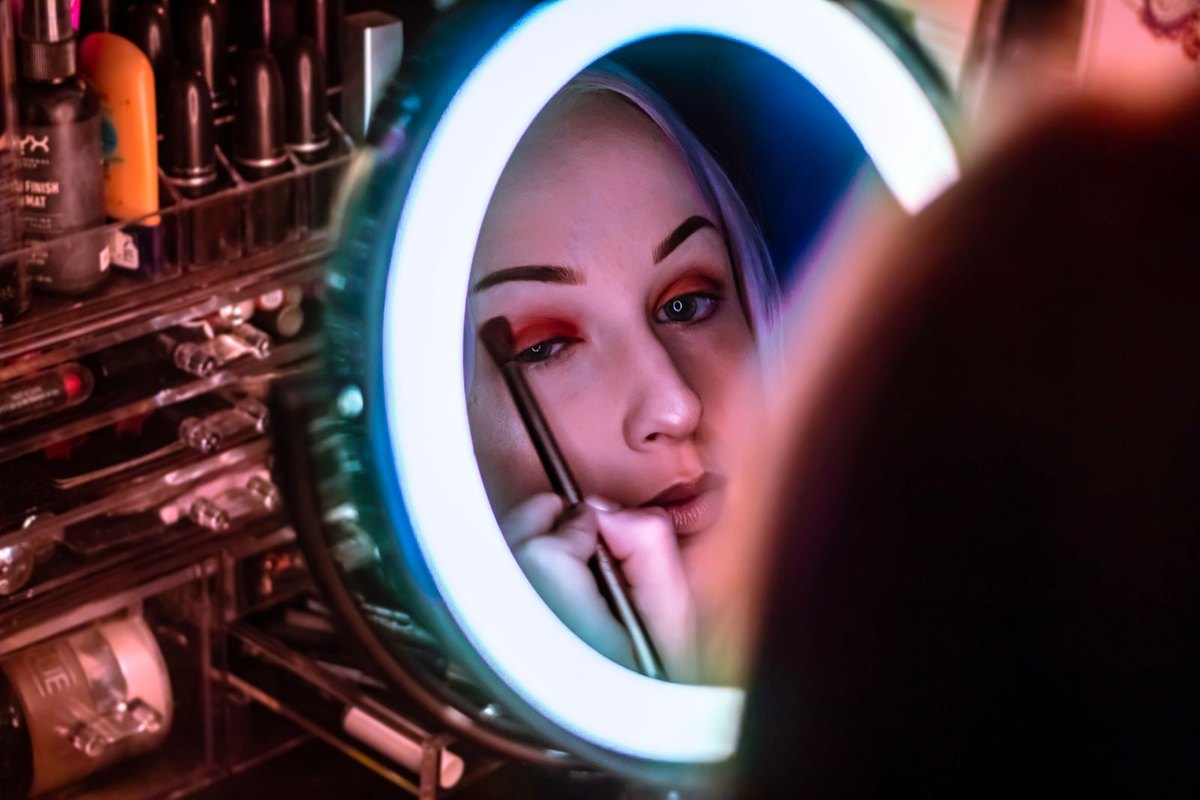
A lit mirror surround is the single most common fitting-room mistake, and it looks like the most helpful thing in the room. It is not.
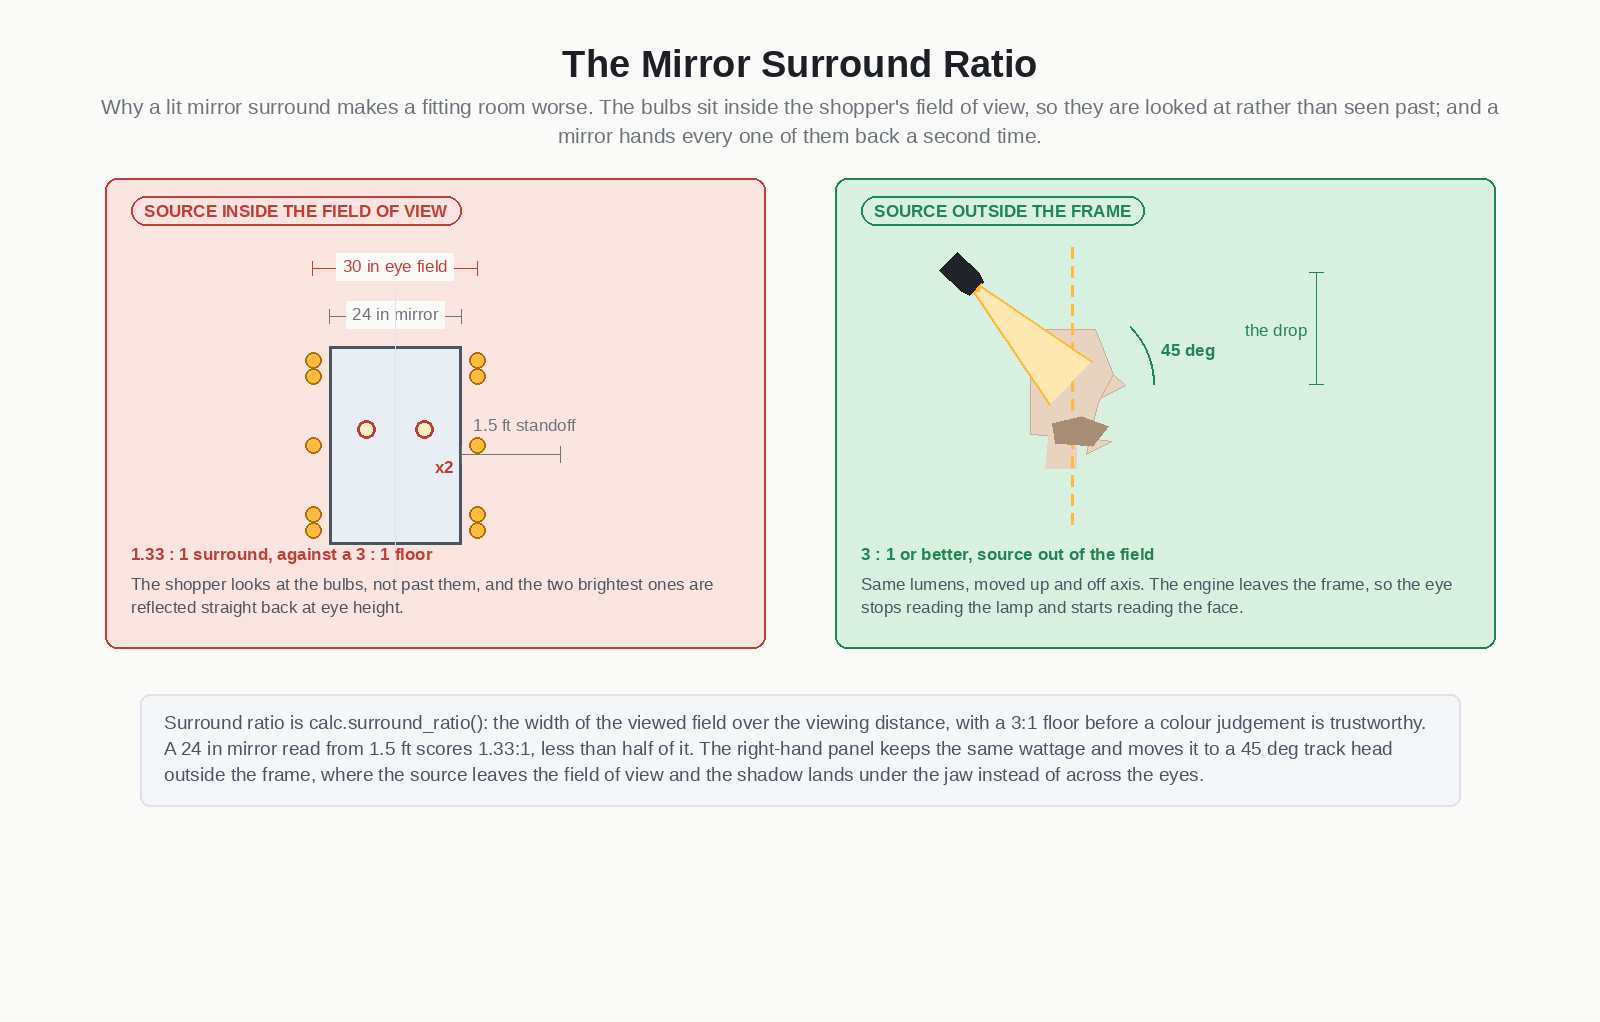
The standard that governs colour judgement in a viewing booth puts a floor of 3:1 on the surround ratio — the width of the viewed field over the viewing distance — before a colour decision is trustworthy. A 24 in mirror read from 1.5 ft scores 1.33:1. Less than half. The shopper is not looking at a scene; they are looking at a framed object.
On top of that, every bulb in the surround sits inside the shopper’s field of view: seen directly by an eye adapted to the cubicle, and then reflected back off the glass. Move the same wattage to a 45° head outside the frame and the source leaves the field of view entirely; the shadow lands under the jaw where it belongs.
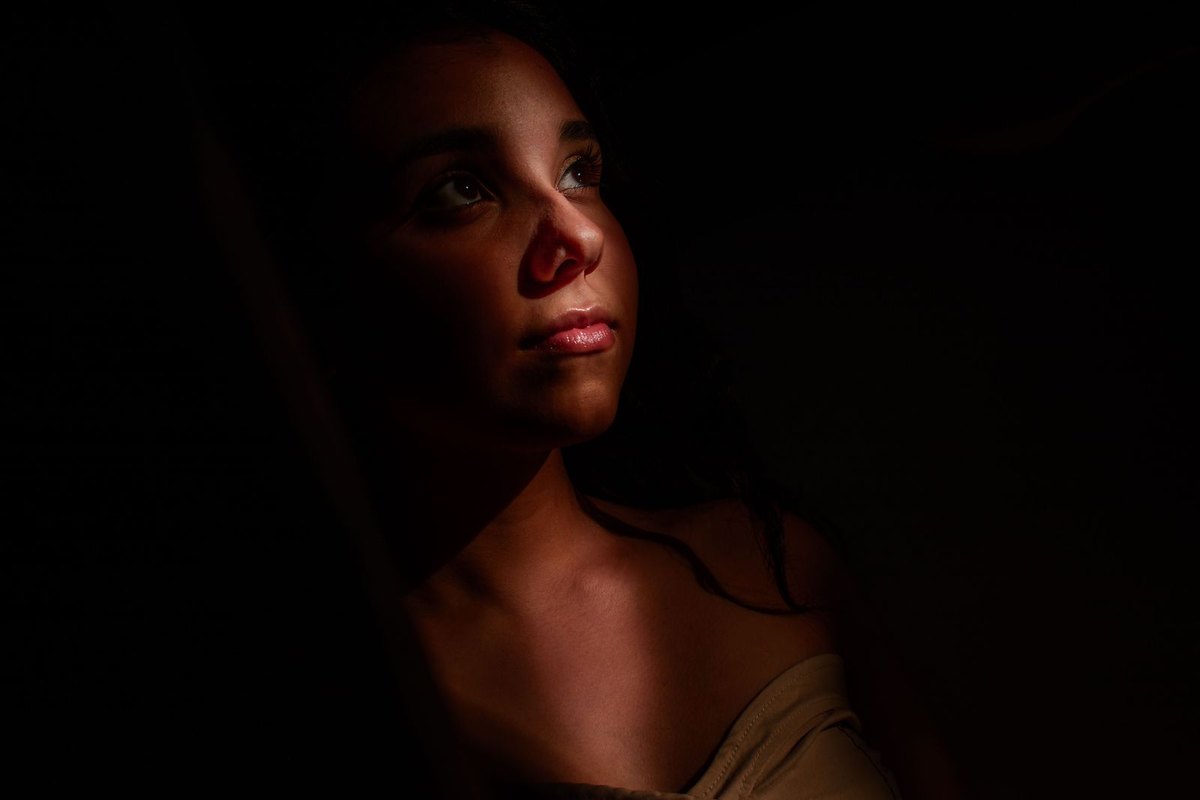
This is also the reason lighting under face reads as wrong before anyone can explain why. Put the beam beneath the chin and every cue the brow was giving reverses at once — the jowl lights, the sockets darken, and the jaw the collar is being judged against simply disappears.
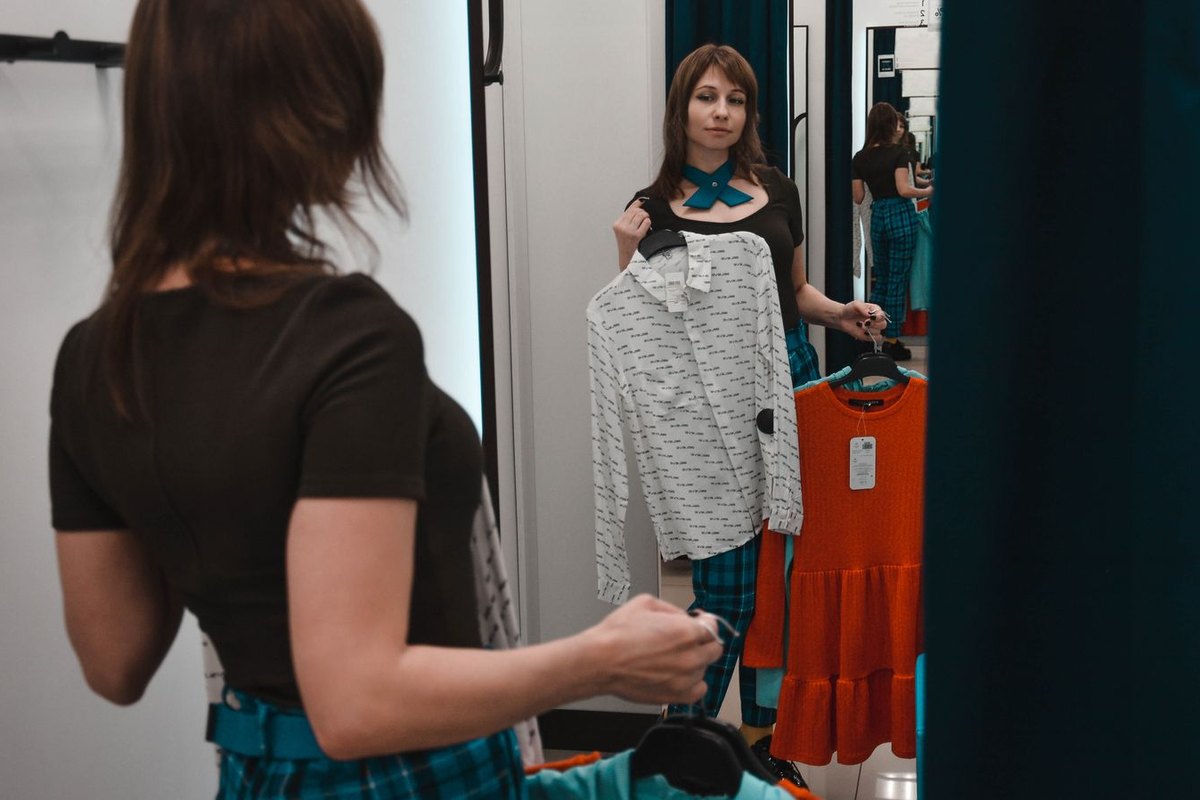
Two heads per cubicle, not a surround.
A 25–35 W track head on the ceiling, 45° off the shopper’s centre line and at least 3 ft out, aimed at the face rather than the floor. Its 15°/24°/38°/60° beam options matter here: 24° for a single face, 38° where two people share a cubicle, 60° only if you also want the wall washed.
A second 20–30 W head as a fill, at eye height on the opposite side, run 40–50% dimmer. That fill is what carries the vertical-to-horizontal ratio above 0.30, and it is the cheapest fix in this article.
Keep both outside the field of view as seen in the mirror. Nothing else changes a fitting room as fast as that one move.
For a portrait, occasionally, as a deliberate fill of a few percent. For a fitting room, no. Under lighting reverses the brow shadow, which is the one cue that tells a viewer where a face ends and the neck begins. If your only option is a below-eye-line source, treat it as a fill at 20–30% and get a key above the eye line first.
Use the vertical-to-horizontal ratio rather than an absolute figure, because it survives changes in the ambient level. IES TM-30-20 Annex E puts the floor at 0.30 of the horizontal illuminance, with 0.60 the target where a face has to be judged reliably. A ceiling-only layout in a small cubicle typically lands under 0.30.
Above the eye line, not above the head. On a 9 ft ceiling with a 5.3 ft eye line, a 45° head sits about 3.3 ft off the centre line with a 4.67 ft throw. Hanging the same head at 12 ft instead stretches the throw to 6.3 ft and drops the face to 56% of the illuminance, which is a level decision before it is a shape one.
Because they are photographed twice. The bulbs are on the camera axis, so they reflect straight back at the sensor, and a 24° head at 17,480 cd peak is far above what any camera can hold alongside a face. The result is the two bright dots and a dark face that every retail photographer has had to fix in post.
As ambient, yes — bring them down to 30–40% and add one track head above the eye line at 45°. Downlights alone cannot shape a face because they arrive from directly overhead, which is the +80° row of the chart and the worst of the flattering options.
Yes, and it is worth knowing before you specify. At a 9 ft ceiling the drop term off vertical is 1.15 at 0° and 0.81 at 45°, so the same head delivers 0.81 of the illuminance when you swing it to shape the face. Budget the extra lumen or accept the level; do not discover it at commissioning.
The cheat sheet below is this face lighting chart on one page. Print it, tape it inside the cubicle during commissioning, and work down the list until the brow shadow points downward.

If you want the reference behind the chart — what each of the five classic portrait angles is, by face shape and gender — that is on our face lighting reference page. For the spec side, browse the track lights range or talk to our lighting team about a fitting-room layout.